
Geberit urinal installation ensures durability and hygiene, utilizing the Duofix system for wall-hung models. Proper setup is crucial for optimal performance and longevity, as outlined in the manual.
1.1 Overview of Geberit Urinal Systems
Geberit urinal systems are designed for efficiency, durability, and hygiene, offering innovative solutions for modern bathrooms. The Duofix installation system is central to these urinals, enabling secure wall-hung mounting. These systems are compatible with various urinal models, ensuring versatility. Key features include robust construction, easy maintenance, and water-saving technology. Geberit urinals are tailored for both commercial and residential use, providing a sleek, space-saving design. The systems are engineered to meet high standards of performance and sustainability, making them a preferred choice for installers and users alike. Proper installation ensures optimal functionality and longevity, as detailed in the manual.
1.2 Importance of Proper Installation
Proper installation of Geberit urinals is essential for ensuring functionality, safety, and longevity. Incorrect mounting can lead to structural issues, water damage, and increased maintenance costs. The Duofix system requires precise alignment and secure anchoring to support the urinal’s weight and handle water flow efficiently. Improper connections may result in leaks, compromising hygiene and causing costly repairs. Adhering to the installation manual’s guidelines ensures compliance with safety standards and manufacturer warranties. A well-executed setup also enhances user satisfaction by providing a stable, leak-free, and hygienic experience. Therefore, following the recommended procedures is crucial for achieving optimal performance and durability of Geberit urinal systems.
Geberit Duofix Installation System
The Geberit Duofix system streamlines urinal installation with its adaptable design and pre-mounted components, ensuring efficient and secure mounting for wall-hung fixtures. Its innovative framework supports various configurations, making it ideal for both new installations and renovations, while promoting water-saving solutions.
2.1 Key Components of the Duofix System
The Duofix system includes a robust carrier frame, pre-mounted components, and adjustable brackets for secure installation. The carrier frame acts as the backbone, providing structural support and ensuring stability. Pre-mounted components simplify the process, reducing assembly time. Adjustable brackets allow for precise alignment with wall-hung urinals, ensuring a flush fit. The system also features water-saving adapters and connectors, promoting efficient water usage. These components work together to create a durable, leak-proof installation that meets modern hygiene standards. The Duofix system is designed for compatibility with various urinal models, making it versatile for different bathroom configurations. Its modular design ensures easy customization and adaptability to specific installation requirements.
2.2 Compatibility with Wall-Hung Urinals
The Duofix system is specifically designed for wall-hung urinals, ensuring seamless integration and optimal performance. Its adjustable brackets and carrier frame accommodate various urinal models, providing a secure and stable installation. The system’s adaptability allows it to fit different wall types and configurations, making it a versatile solution for modern bathrooms. By aligning perfectly with wall-hung urinals, the Duofix system enhances hygiene and aesthetics, creating a professional finish. This compatibility ensures that the urinal functions efficiently, with proper water flow and drainage, while maintaining a sleek, minimalist appearance. The Duofix system’s design prioritizes ease of installation and long-term durability, making it a reliable choice for wall-hung urinal setups.
Pre-Installation Requirements
Ensure wall conditions are stable and level, with proper measurements for urinal and plumbing connections. Verify wall strength and alignment before proceeding with installation.

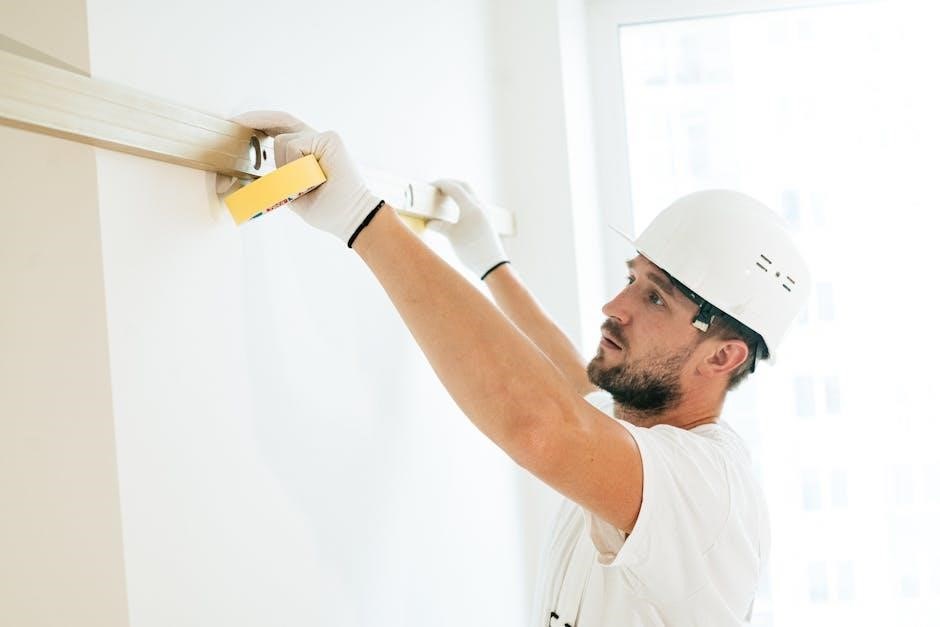
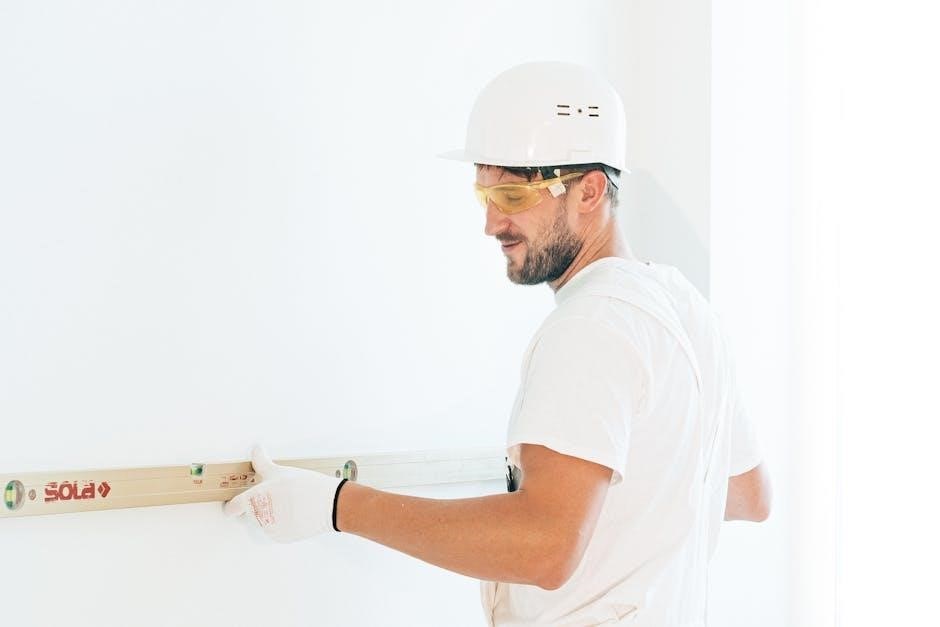
3.1 Checking Wall Conditions
Before installation, ensure the wall is structurally sound and can support the urinal’s weight. Check for cracks or damage that could compromise stability. Verify the wall is level and plumb to ensure proper alignment. For concrete walls, anchor points must be secure, while drywall may require additional support. Measure wall thickness to confirm compatibility with the Duofix system’s requirements. Ensure all surfaces are clean and free from debris. If installing in a humid environment, consider waterproofing measures. Proper wall preparation is essential for a safe and durable installation, as outlined in the Geberit manual.
3.2 Ensuring Proper Measurements
Accurate measurements are critical for a successful Geberit urinal installation. Measure the wall-to-floor distance to ensure the urinal aligns with the drain connection. Verify the height of the urinal inlet, typically between 44-51 cm, to meet standard plumbing requirements. Check the width of the urinal and ensure it fits the wall space. Measure the distance between the wall studs or anchors to secure the Duofix carrier frame properly. Use a spirit level to confirm the wall is vertical and the floor is horizontal. Incorrect measurements can lead to misalignment, leaks, or poor functionality. Double-check all dimensions before proceeding to avoid costly adjustments later. Precision ensures a professional and durable installation.
Tools and Materials Needed

Essential tools include a drill, screwdriver, and wrench. Materials needed are wall anchors, screws, and sealants for a secure and leak-proof installation of the urinal system.
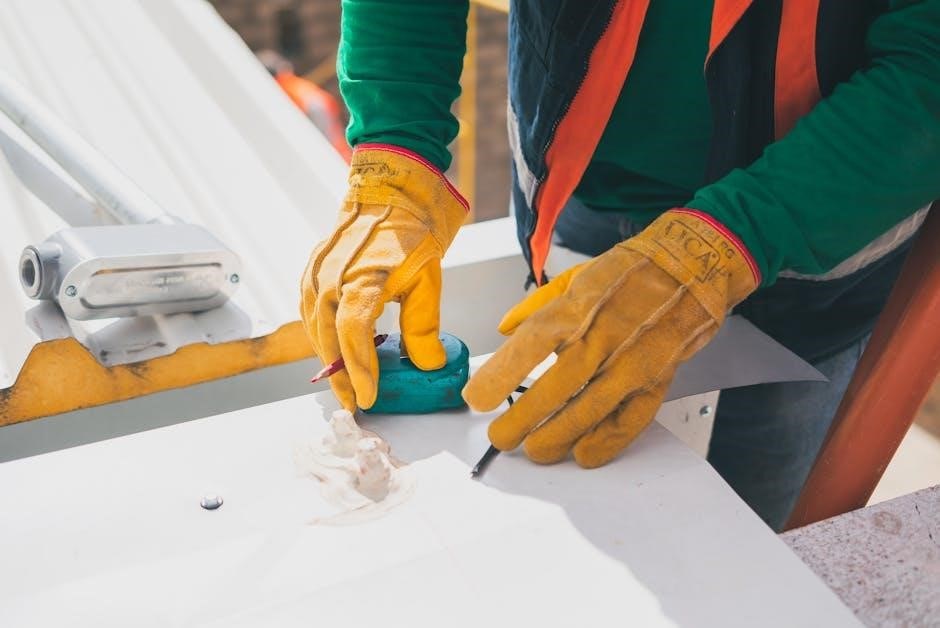
4.1 Essential Tools for Installation
Installing a Geberit urinal requires specific tools to ensure accuracy and safety. A drill with drill bits is necessary for making holes in the wall. A screwdriver, both flathead and Phillips, is needed for securing screws. Adjustable wrenches or spanners are essential for tightening connections. Measuring tape is crucial for aligning the urinal correctly. Spirit levels ensure the installation is perfectly horizontal and vertical. Safety goggles and gloves are recommended to protect against debris and sharp edges. Additionally, a pencil is needed for marking wall surfaces, and a rubber mallet can help with aligning components without causing damage. These tools ensure a professional and secure installation of the Geberit urinal system.
4.2 Recommended Materials
For a successful Geberit urinal installation, specific materials are required. The carrier frame, compatible with wall-hung urinals, is essential for stability. Anchors and screws designed for the wall type (concrete, brick, or drywall) ensure secure mounting. Sealing materials like gaskets and silicone are crucial to prevent leaks. The drainage system components, including the trap and pipe connectors, must be compatible with the Geberit model. Water supply lines and shut-off valves are necessary for proper water connection. Wall brackets and adapters may be needed for alignment. Ensure all materials meet local plumbing standards and are durable for long-term use. Using genuine Geberit parts is recommended for optimal performance and warranty compliance.
Step-by-Step Installation Guide
Install the Geberit Duofix system by anchoring the carrier frame, mounting the urinal, and connecting drainage and water supply lines. Follow the manual for precise steps and optimal results.
5.1 Anchoring the Carrier Frame
The installation begins with securely anchoring the Geberit Duofix carrier frame to the wall. Ensure the wall is sturdy and meets the system’s requirements. Mark the wall according to the frame’s dimensions, typically between 44-51 inches in height. Drill pilot holes for the anchors, then insert and tighten them firmly. Align the carrier frame with the marks and screw it into place, ensuring it is level and plumb. Double-check the frame’s stability before proceeding. Proper anchoring is critical for supporting the urinal’s weight and ensuring long-term durability. Follow the manual’s specifications for precise measurements and torque settings to avoid any installation issues. This step sets the foundation for a successful and secure urinal setup.
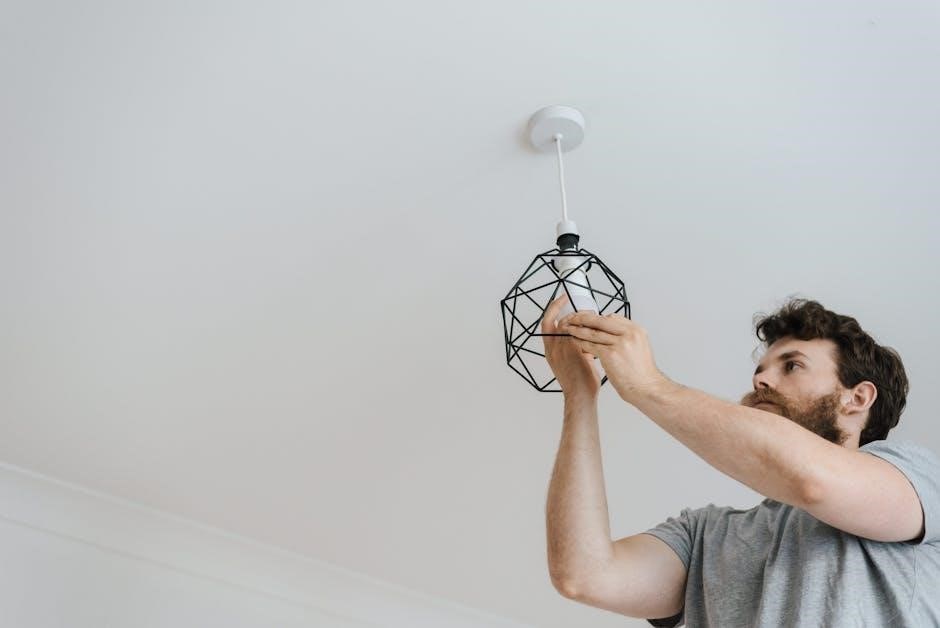
5.2 Mounting the Urinal
After anchoring the carrier frame, carefully lift the urinal and align its mounting holes with the frame’s studs. Ensure the urinal is level and properly positioned against the wall. Secure the urinal by tightening the provided screws evenly to avoid misalignment. Check the urinal’s stability and adjust as needed. Once aligned, tighten all screws firmly to the recommended torque specification. Ensure the urinal is flush against the wall and level for optimal performance. Double-check the installation to confirm the urinal is securely fastened and properly aligned with the carrier frame. This step ensures the urinal is stable and ready for connecting the drainage and water supply systems.
5.3 Connecting the Drainage System
Connecting the drainage system is a critical step in the installation process. Begin by attaching the drainpipe to the urinal’s outlet, ensuring a secure and watertight connection. Use the provided gasket or sealant to prevent leaks. Next, connect the drainpipe to the carrier frame’s drainage outlet, aligning it properly to avoid any obstructions. Tighten all connections firmly, but avoid overtightening, which could damage the system. Once connected, perform a visual inspection to ensure all joints are sealed correctly. Finally, test the drainage system by flushing the urinal to check for any leaks or blockages. Proper drainage connection is essential for maintaining hygiene and preventing water damage.
5.4 Finalizing Water Supply Connections
After mounting the urinal, connect the water supply line to the valve, ensuring it is securely attached. Tighten the connections gently but firmly to avoid damaging the threads. Use a wrench to ensure a leak-proof seal. Once connected, turn on the water supply and check for any leaks around the connections. If leaks are detected, tighten the fittings slightly and retest. Proper water supply connections are essential for the urinal’s functionality and to prevent water damage. Ensure the water flow is adjusted according to the manufacturer’s recommendations for optimal performance. Finalize by testing the urinal with a flush to confirm everything works smoothly.
Testing and Quality Assurance
Testing and quality assurance involve thorough leak checks and functionality verification to ensure the urinal operates flawlessly and meets Geberit’s high standards, guaranteeing long-term performance.
6.1 Leak Testing Procedures
Leak testing is essential to ensure the Geberit urinal system’s integrity. Begin by pressurizing the drainage and water supply lines to the recommended specifications. Visually inspect all connections, including the carrier frame, urinal mounting points, and drainage pipes, for any signs of moisture or seepage. Use a water test by flushing the urinal multiple times to simulate normal usage conditions. Check for leaks around the seal between the urinal and the wall, as well as the water supply connections. If any leaks are detected, tighten the connections or replace faulty components. Repeat the test to confirm the system is watertight. Proper leak testing ensures long-term reliability and prevents costly repairs.
6.2 Ensuring Proper Functionality
After installation, ensure the Geberit urinal operates smoothly by testing all components. Check the water supply line for proper flow and pressure, and verify that the flush valve activates correctly. Inspect the drainage system to ensure waste flows freely without blockages. Test the urinal under normal usage conditions to confirm consistent performance. Ensure the mounting system is stable and the urinal is securely fastened to the wall. Adjust any components as needed to achieve optimal functionality. Proper functionality ensures hygiene, efficiency, and long-term reliability of the system. Address any issues promptly to maintain performance and prevent potential breakdowns.
Maintenance and Care
Regular cleaning and inspections are essential for maintaining Geberit urinals. Check for wear and tear, and address issues promptly to ensure optimal performance and hygiene.
7.1 Regular Cleaning and Inspection
Regular cleaning and inspection are vital for maintaining Geberit urinals. Use mild cleaning agents to avoid damaging surfaces. Check for mineral buildup in pipes and flush valves. Inspect the water supply lines for leaks or corrosion. Ensure the drain system is clear of debris to prevent clogs. Clean the urinal bowl and surrounding areas frequently to maintain hygiene. Inspect the mounting frame for stability and tighten any loose screws. Regular maintenance ensures optimal performance, prevents issues, and extends the lifespan of the urinal system. Always follow the manufacturer’s guidelines for cleaning and inspection to guarantee long-term durability and functionality.
7.2 Troubleshooting Common Issues
Common issues with Geberit urinals include leaks, clogged drains, or malfunctioning flush valves. Check connections for tightness and inspect seals for wear. For clogs, clean the drain trap or flush with a mild detergent. If the flush valve doesn’t activate, ensure proper water pressure and sensor alignment. Addressing issues promptly prevents further damage. Regular maintenance, like cleaning filters and inspecting pipes, helps avoid problems. Refer to the manual for specific troubleshooting steps. Always use genuine Geberit parts for repairs to ensure compatibility and longevity. Proper care and timely fixes maintain hygiene, efficiency, and extend the system’s lifespan.
Conclusion
Proper Geberit urinal installation ensures functionality and longevity. Follow the manual for precise steps, leveraging the Duofix system for wall-hung models. Regular maintenance guarantees optimal performance and hygiene.
8.1 Summary of Key Installation Steps

The Geberit urinal installation process involves several critical steps to ensure proper functionality and durability. Begin by anchoring the Duofix carrier frame securely to the wall, ensuring it is level and aligned correctly. Next, mount the urinal onto the frame, making sure all connections are tight and properly sealed. Connect the drainage system, paying attention to the correct positioning of the trap and pipes. Finally, establish the water supply connections, ensuring no leaks are present. Testing each component, such as the flush valve and drainage flow, is essential before completing the installation. Proper preparation and adherence to the manual guarantee a successful and long-lasting setup.
8.2 Final Tips for Long-Term Durability
For long-term durability, regular maintenance is essential. Clean the urinal and drainage system frequently to prevent mineral buildup and blockages. Inspect all connections and seals periodically to ensure they remain tight and leak-free. Avoid using abrasive cleaners, as they may damage the urinal’s surface. Ensure proper water pressure is maintained to prevent excessive wear on the flush valve. Additionally, consider installing a water filter to reduce limescale buildup, which can extend the lifespan of the system. Always use genuine Geberit replacement parts for repairs to maintain compatibility and performance. By following these tips, you can ensure your Geberit urinal system remains functional and durable for years to come.